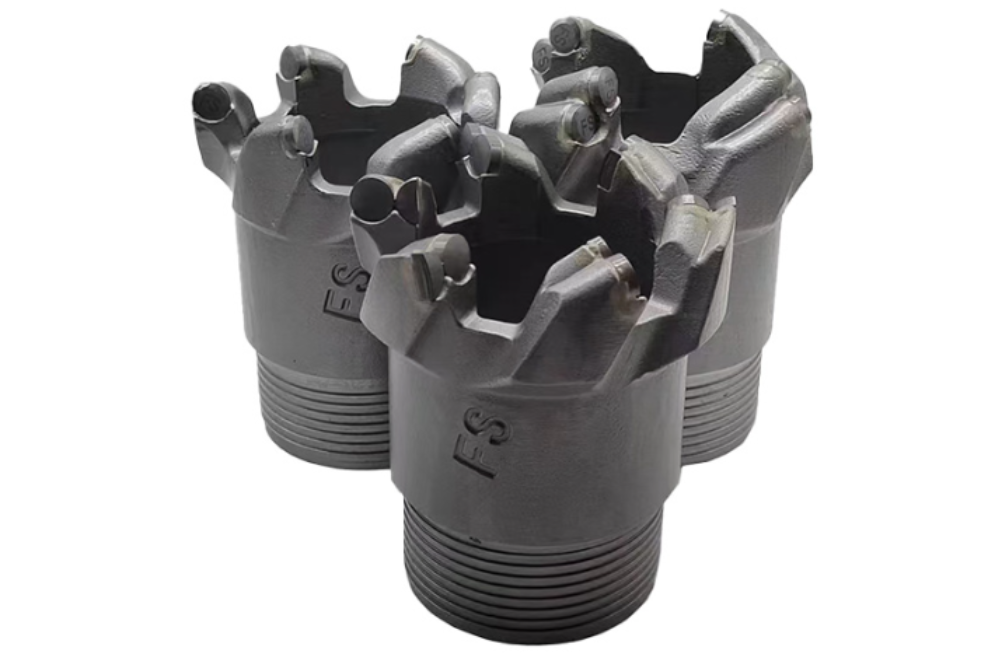
Granite is gorgeous—and unforgiving. Choose the wrong bit, and you’ll glaze the tip, chip the surface, or crack a costly slab. Choose the right one, and drilling feels controlled and almost quiet. This guide explains what type of drill bit for granite actually works, which diamond drill bit for granite to pick for different hole sizes, and the exact setup that protects edges on countertops, steps, wall caps, and exterior stone.
You’ll also get practical rpm/cooling targets, anchor sizing, and a simple way to extend reach with drill rods when you need depth or perfect alignment.
The 20-second answer (snippet-ready)
For granite, use diamond—not standard steel. Small holes (≤10 mm): electroplated/vacuum-brazed diamond spear or hole saw, rotary mode, low RPM, water-cooled. Large clean holes (≥20 mm): sintered diamond core bit on a stand with steady water and low RPM. Use carbide SDS only for rugged anchors where edge quality doesn’t matter.
Granite basics: why bit choice matters
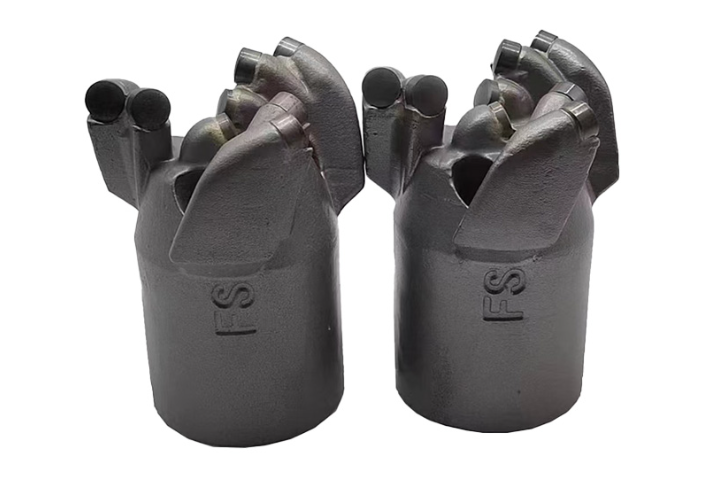
Granite is an interlocking mosaic of quartz, feldspar, and mica. The quartz content makes it abrasive and heat-sensitive for tools. Hammering can bruise the crystal matrix near the entrance hole, and high RPM overheats bonds, causing premature wear.
Two rules keep you safe:
- Grind, don’t smash. Prefer diamond grinding over impact for visible faces.
- Cool the cut. Water keeps diamonds sharp, carries fines, and protects the slab.
The top 10 durable drill-bit options for granite
Below are the real-world picks pros use. Choose by hole size, edge quality, and whether you can run water.
1) Electroplated diamond “spear” / pilot bits (wet)
Perfect for starter holes and small diameters (3–8 mm). The plated diamond layer starts fast, bites cleanly, and guides larger tools. Use as a pilot for hole saws and cores on polished granite where skating ruins finishes.
Use when: You need clean, chip-free pilot holes for fixtures, faucet guides, or tap-cons in stone trim.
2) Electroplated diamond hole saws (wet)
A thin-walled cup with diamond plating on the rim. Great for 6–35 mm in countertops and tiles. They cut quickly with modest pressure. Keep rotary only, low RPM, and a steady water ring. For best results, pilot with a spear or use a guide jig so the cup doesn’t skate.
Use when: Clean openings for anchors, cable passthroughs, water lines, and hardware studs.
3) Vacuum-brazed diamond bits (wet or light-mist)
Vacuum-brazed diamonds are taller and tougher than electroplated, tolerating higher feed and occasional dry sections. They’re ideal for site installs where water is limited. Still, avoid heat—pulse the cut and mist if you can.
Use when: Field drilling into set stone, exterior steps, or boulders where a hose isn’t convenient.
4) Sintered diamond core bits—continuous rim (wet)
The gold standard for 20–200 mm holes with showroom edges. Diamonds are embedded in a metal bond that wears to expose fresh grit. Continuous rim equals clean, chip-resistant edges on polished surfaces. Run on a core drill/stand with low RPM, steady water, and a gentle, constant feed.
Use when: Faucet bodies, sink accessories, railing posts, and through-holes where the edge will be seen.
5) Sintered diamond core bits—segmented rim (wet)
Segmented crowns run cooler and clear swarf better on long cuts or thicker stone. Edge quality is slightly rougher than continuous rim, but life is excellent—especially for larger diameters.
Use when: Big pass-throughs in thick or outdoor granite where speed and longevity matter more than a perfect cosmetically crisp rim.
6) Diamond dry cores with wax coolant (dry/intermittent)
These cores carry a heat-absorbing wax inside the barrel for dry drilling. They’re handy where water is prohibited (some interiors). Keep RPM very low, pulse often, and vacuum dust. Expect more edge cleanup than with wet cores.
Use when: Waterless environments that still require a larger diameter hole without hammering.
7) Diamond finger bits (wet)
A narrow, solid cylinder used for enlarging holes or adjusting shape/position after coring. They’re lifesavers when a faucet hole is a millimeter off.
Use when: Correcting hole placement or fine-tuning openings in installed countertops.
8) Diamond countersink / chamfer bits (wet)
After any through-hole, easing the mouth prevents chips and helps grommets or escutcheons seat flush. A quick chamfer also reduces stress at the edge.
Use when: Finishing holes on polished granite so hardware sits cleanly and chips are minimized.
9) Premium multi-cutter carbide SDS-Plus/SDS-Max (dry, hammer mode—limited use)
Carbide can work for rugged anchors in exterior granite blocks or rough faces. Choose 4-cutter geometry for better tracking and roundness. Expect more chipping—do not use on visible, polished surfaces. Use hammer mode lightly and “peck” to clear dust.
Use when: Hidden fixings in rough stone where cosmetics don’t matter and speed matters.
10) Spot-drill / guide plates and drill rods & extensions
Not a bit per se, but essential accessories. A guide plate stops skating; drill rods add reach and keep long runs aligned—critical for rail posts through caps and stairs. If you need depth or straightness over distance, pair bits with the right rods and couplings:
The right tool & settings (this is where most fails happen)
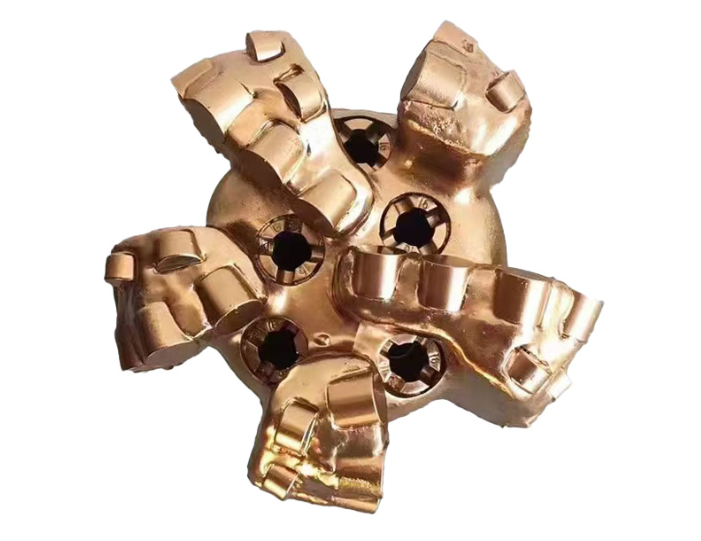
Tool choice
- Rotary only for all diamond bits. Core drill with a stand is safest for ≥20 mm.
- Rotary hammer (SDS) is acceptable for hidden anchors with carbide only.
RPM (starting ballparks—always follow the bit maker’s chart)
- 6–10 mm plated/vac-brazed: ~800–1,500 RPM with water.
- 20–35 mm hole saw: ~600–1,000 RPM.
- 50–110 mm sintered core: ~500–900 RPM.
- >110 mm sintered core: ~300–600 RPM.
Feed & posture: Use firm, steady pressure. No rocking. If the pitch rises or the bit squeals, you’re glazing—ease off, increase water, and reduce speed.
Cooling
- Wet beats dry. A small dam of modeling clay around the hole holds water on horizontal surfaces. For vertical work, use a low-flow ring.
- Dry options need pulsed cuts and dust extraction. Heat kills diamonds faster than anything.
Chip-free starts and exits (countertops especially)
- Tape the surface and mark center.
- Pilot first with a spear or a guided jig; then switch to the cup/core.
- Start at a slight angle, kiss the surface to grind a crescent, then stand the tool upright to continue.
- Feather the last 2–3 mm of material; consider back-drilling from the underside to prevent breakout on the exit face.
- Finish with a diamond countersink to ease the rim.
Anchors and hardware in granite (fit matters)
Granite holds anchors extremely well—if the hole is true to spec and clean.
- Follow the anchor maker’s diameter and embed depth exactly.
- Clean the hole: blow, brush, and vacuum. Dust destroys bond strength for chemical anchors and reduces expansion reliability.
- For visible hardware (balustrades, racks, charging hooks for e-bike storage), core first for a clean mouth, then sleeve or chamfer so escutcheons sit flush.
Working near parking or garage areas for e-bikes? Granite pads often need tidy pass-throughs for anchors or conduits. Diamond cores keep edges clean so hardware seals weather-tight and looks intentional.
Troubleshooting: what to do when things go sideways
- Bit smokes or stalls: You’re too fast or too dry. Reduce RPM, increase water, lighten feed, and resume.
- Skating at start: Use a guide plate or roughen a small spot with a spear bit. Start at a slight angle and level out.
- Chipping at the rim: Chamfer immediately; lower feed near breakthrough; switch to continuous rim diamonds for the first few millimeters.
- Slow cutting after some holes (diamond): Dress the crown briefly on a soft abrasive block to expose fresh diamonds.
- Wandering holes (deep): Use drill rods and stabilize with a stand. Keep the tool square—rocking ovates the hole.
Safety & dust control
Granite dust contains crystalline silica. Wear eye/ear protection and a P2/N95+ respirator. Use wet methods or M-class extraction. Keep cords and hoses clear. Secure slabs; never drill a cantilevered piece without support.
Care, storage, and getting full life from bits
- Store diamond bits dry; don’t toss them into a bin where rims get nicked.
- Wipe SDS shanks and add a light film of tool-rated grease to reduce galling.
- Retire plated bits when the rim is smooth; retire sintered bits when the crown height is gone or braze lines show.
- Label RPM ranges on the case to remind the team on site.
Frequently Asked Questions
What drill bit for granite countertops gives the cleanest edge?
A sintered continuous-rim diamond core with water cooling at low RPM produces the smoothest, chip-resistant edge on polished faces.
Is a diamond drill bit for granite always required?
For visible surfaces—yes. Carbide SDS can work for hidden anchors in rough granite, but expect more chipping.
What’s the best drill bit for hard stone like granite or basalt?
A wet, sintered diamond core for larger holes; vacuum-brazed or electroplated diamond for small diameters and pilots.
Can I drill granite dry?
You can with dry diamond cores or vacuum-brazed bits, but keep RPM low, pulse the cut, and extract dust. Wet cuts are cleaner and safer.
Do I need a stand for cores?
For ≥20 mm and any precision hole, a core drill with a stand keeps the cut round and prevents skating—especially important on countertops.
Wrap-up: pick the bit that matches the job
- Small, precise holes (≤10 mm): Electroplated or vacuum-brazed diamond spear/hole saw, water-cooled.
- Clean, large openings (≥20 mm): Sintered diamond core (continuous rim for prettiest edges, segmented for speed and life), low RPM with steady water on a stand.
- Hidden anchors in rough stone: Premium carbide SDS with light hammering, knowing cosmetics will suffer.
Corrections & finish:Finger bits to nudge position, countersinks to ease rims.