
Drilling may look simple — press a button, make a hole — but true precision comes from understanding your tools. One of the most important details? Knowing how to use different types of drill bits correctly for each material and purpose.
Whether you’re working with metal, wood, concrete, or even glass, choosing and using the right bit determines how clean, safe, and efficient your work will be. In this guide, we’ll break down the use of different drill bits, show you step-by-step how to handle them, and explain what makes each type unique.
Why Drill Bit Type Matters
A drill bit isn’t just a sharp piece of metal — it’s a precision-engineered tool. Each design is tailored to the hardness and density of specific materials. Using the wrong bit can result in dull edges, overheating, or even tool damage.
Think of it like this: you wouldn’t use a butter knife to cut a steak. The same rule applies to drilling. Choosing the correct bit ensures:
- Cleaner holes with minimal burrs
- Longer tool life and reduced heat
- Better energy transfer from the drill
- Higher accuracy for professional-grade results
Common Types of Drill Bits and Their Uses
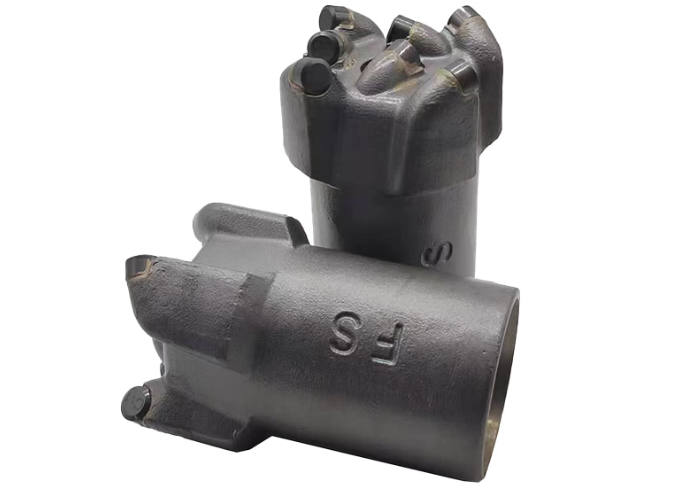
Before we jump into the step-by-step guide, it’s essential to know what’s out there. Here are the different types of drill bits and their primary functions.
Twist Drill Bits
The most common type used in everyday drilling. They have a spiral (twist) design that helps remove chips as they cut through wood, plastic, or soft metal.
Best for: General-purpose drilling in wood and metal.
Tip: Keep speeds moderate to avoid heat buildup in metal.
Masonry Drill Bits
These are built tough — usually with tungsten carbide tips — to handle concrete, brick, and stone. The wide flutes remove debris while the reinforced head withstands hammer action.
Best for: Concrete, stone, tile, brick.
Use with: Rotary hammer drills or hammer mode on standard drills.
Brad Point Drill Bits
Specifically designed for woodworking, brad point bits have a sharp center spur that anchors the bit, preventing it from wandering.
Best for: Precision woodwork like cabinetry or furniture.
Tip: Use slower speeds to avoid burning the wood surface.
2.4 Spade Drill Bits
Flat and aggressive, spade bits are used for making large holes quickly in wood or soft materials.
Best for: Rough carpentry or when hole appearance isn’t critical.
Tip: Keep a firm grip — spade bits can “grab” during drilling.
Step Drill Bits
These cone-shaped bits allow drilling holes of multiple sizes without changing bits.
Best for: Sheet metal, plastic, and thin materials.
Tip: Use light pressure and steady speed for clean holes.
Forstner Bits
Forstner bits cut smooth, flat-bottomed holes — often used in cabinetry or joinery.
Best for: Wood, veneer, and plywood.
Tip: Clamp your material firmly to prevent slipping.
Diamond Drill Bits
These bits are coated or embedded with synthetic industrial diamonds, offering unmatched cutting precision for hard, brittle materials.
Best for: Glass, tile, stone, and marble.
Use with: Low RPM and water cooling to avoid cracking.
For professional-grade drilling tools and drill rods, visit FSDRILL’s collection.
Step-by-Step: How to Use Different Types of Drill Bits
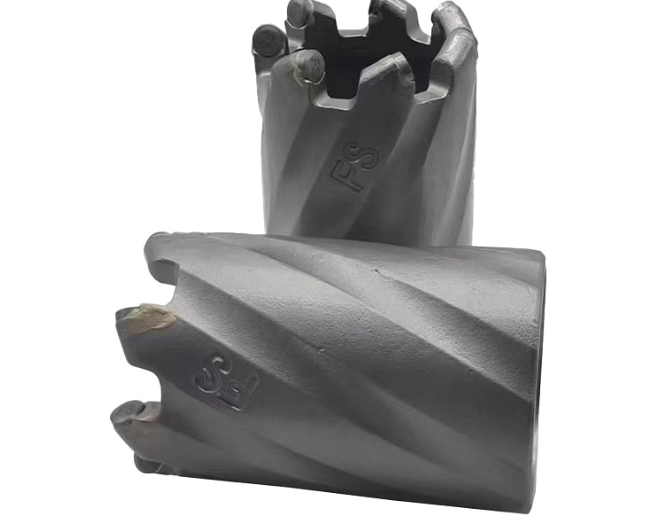
Now that you know the main types, let’s walk through how to use them properly — from setup to finish.
Step 1: Choose the Right Drill Bit for the Material
The first step is always matching the bit to the material:
- Metal: Use high-speed steel (HSS), cobalt, or step bits.
- Wood: Go for brad point, spade, or Forstner bits.
- Concrete or Brick: Choose carbide-tipped masonry bits.
- Glass or Stone: Use electroplated diamond bits with water cooling.
A quick rule: harder materials require tougher bits.
Step 2: Prepare the Surface
Mark your drilling spot using a pencil or punch tool. For metal, a center punch helps prevent slipping. For tiles or glass, place masking tape to add friction and reduce cracking.
Ensure the surface is stable — clamp it if needed. This prevents vibration and ensures accuracy.
Step 3: Secure the Drill Bit in the Chuck
Insert the drill bit into the chuck (the three-jawed clamp at the drill’s tip).
- Tighten it evenly to prevent wobble.
- Ensure the bit is straight and firmly locked.
- For SDS or rotary hammer drills, slide the bit until it clicks into the shank slot.
Step 4: Set the Right Speed and Mode
Each material needs a different speed:
- Wood: High speed (fast rotation).
- Metal: Moderate speed to avoid overheating.
- Concrete: Slow speed with hammer function.
- Glass: Very slow speed with consistent cooling.
If your drill has multiple modes (rotation-only, hammer, or rotary hammer), select accordingly. For instance, drilling into concrete requires the hammer function, while wood or metal uses rotation only.
Step 5: Start Drilling Slowly
Begin with low pressure and low RPM until the bit is stable in the surface.
Once the bit creates a small pilot groove, you can increase speed gradually.
Keep your hands steady and avoid tilting the drill, as it can cause oval holes or bit breakage.
Step 6: Apply Steady Pressure
Let the bit do the work. Pressing too hard can overheat or dull the bit, especially when drilling metal or stone. A steady, moderate push maintains both control and efficiency.
For deep holes, lift the bit occasionally to clear dust and improve airflow.
Step 7: Use Lubrication or Cooling When Needed
Different materials respond better with cooling:
- Metal: Use oil to reduce friction.
- Stone or Glass: Use continuous water cooling.
- Concrete: A wet drilling system improves both lifespan and performance.
This simple step can double your drill bit’s life.
Step 8: Clean and Inspect the Drill Bit
After use, wipe the bit clean with a dry cloth. Remove any debris or residue that can cause rust or imbalance. For masonry or diamond bits, rinse thoroughly and let them air dry.
Inspect the tip — if dull or chipped, sharpen or replace it. A damaged bit can ruin both your work and your drill motor.
The Use of Different Nail Drill Bits (for Precision Work)

While standard drill bits are for construction and metalwork, nail drill bits — used in beauty and detailing tools — also require technique.
These miniature rotary bits come in ceramic, carbide, or diamond versions and are used for shaping, smoothing, or removing acrylic and gel layers.
Common types include:
- Barrel bit: Shapes and shortens nails.
- Cone bit: Cleans cuticles and sidewalls.
- Needle bit: Reaches corners with precision.
The principle is the same: match the bit to the task, maintain speed control, and keep surfaces cool. Although on a smaller scale, nail bits also rely on material compatibility and sharpness.
What Kind of Drill Bits Do You Use for Metal?
Metal drilling is a special case because friction creates high heat. Here’s how to handle it effectively:
- Use HSS or cobalt drill bits — they maintain hardness at high temperatures.
- Apply cutting oil for lubrication.
- Drill at a steady, medium speed. High speed causes overheating and dulls the bit.
- Start with a pilot hole before using larger diameters.
- Deburr edges after drilling for a clean finish.
6. Expert Tips to Extend Drill Bit Life
- Avoid running the drill at max speed continuously.
- Keep bits clean, dry, and rust-free.
- Use the correct chuck for your bit type (SDS, hex, or standard).
- Don’t mix bits between materials — dedicate sets for wood, metal, and concrete.
- Sharpen regularly or replace worn bits early to maintain accuracy.
For high-performance industrial applications, FSDRILL’s drill rods and accessories offer superior durability and precision engineering.
Troubleshooting Common Issues
| Problem | Likely Cause | Solution |
| Bit slips or wobbles | Chuck not tight enough | Re-tighten evenly |
| Burning smell | Overheating | Reduce speed, add lubrication |
| Cracked glass or tile | Too much pressure | Lower speed, add tape or water |
| Dull bit | Overuse or improper speed | Sharpen or replace |
| Drill stalls | Bit clogged | Withdraw to clear debris |
Conclusion
Learning how to use different types of drill bits isn’t just about power — it’s about precision, patience, and the right technique. From wood to metal, glass to stone, every bit type has its own rhythm.
By following this guide — choosing the right bit, adjusting your drill settings, and applying steady pressure — you’ll achieve cleaner holes, longer tool life, and more professional results.
Frequently Asked Questions
What are the main types of drill bits?
Twist, masonry, spade, brad point, Forstner, step, and diamond bits — each suited for different materials.
How do I know which drill bit to use?
Match the bit to the hardness of your material: harder surfaces need carbide or diamond tips.
Can I use metal bits on wood or concrete?
Metal bits can drill wood but struggle with masonry. Use specialized bits for concrete or stone.
What’s the best speed for drilling metal?
Use moderate RPM with cutting oil to reduce heat and maintain sharpness.
How often should I replace drill bits?
When tips dull, flutes clog easily, or holes become rough — it’s time to sharpen or replace.